- 12 Essential Steps for Your Final Walkthrough Checklist
- 1. Schedule Timing Strategically
- 2. Verify All Agreed-Upon Repairs Were Completed
- 3. Test All Major Systems and Appliances
- 4. Inspect the Interior Condition Room by Room
- 5. Examine Exterior and Structural Elements
- 6. Document Everything with Photos and Video
- 7. Verify Utilities and Services Are Operational
- 8. Confirm Included Items and Negotiate Exclusions
- 9. Check for Signs of Recent Problems That Were Covered Up
- 10. Test Security and Safety Features
- 11. Review Final Settlement Statement and Closing Documents
- 12. Plan Next Steps Based on Findings
- What Not to Do During Your Final Walkthrough
- Timeline and Cost Considerations
- How to Handle Problems Found During Final Walkthrough
- One Last Look Before You Call It Home
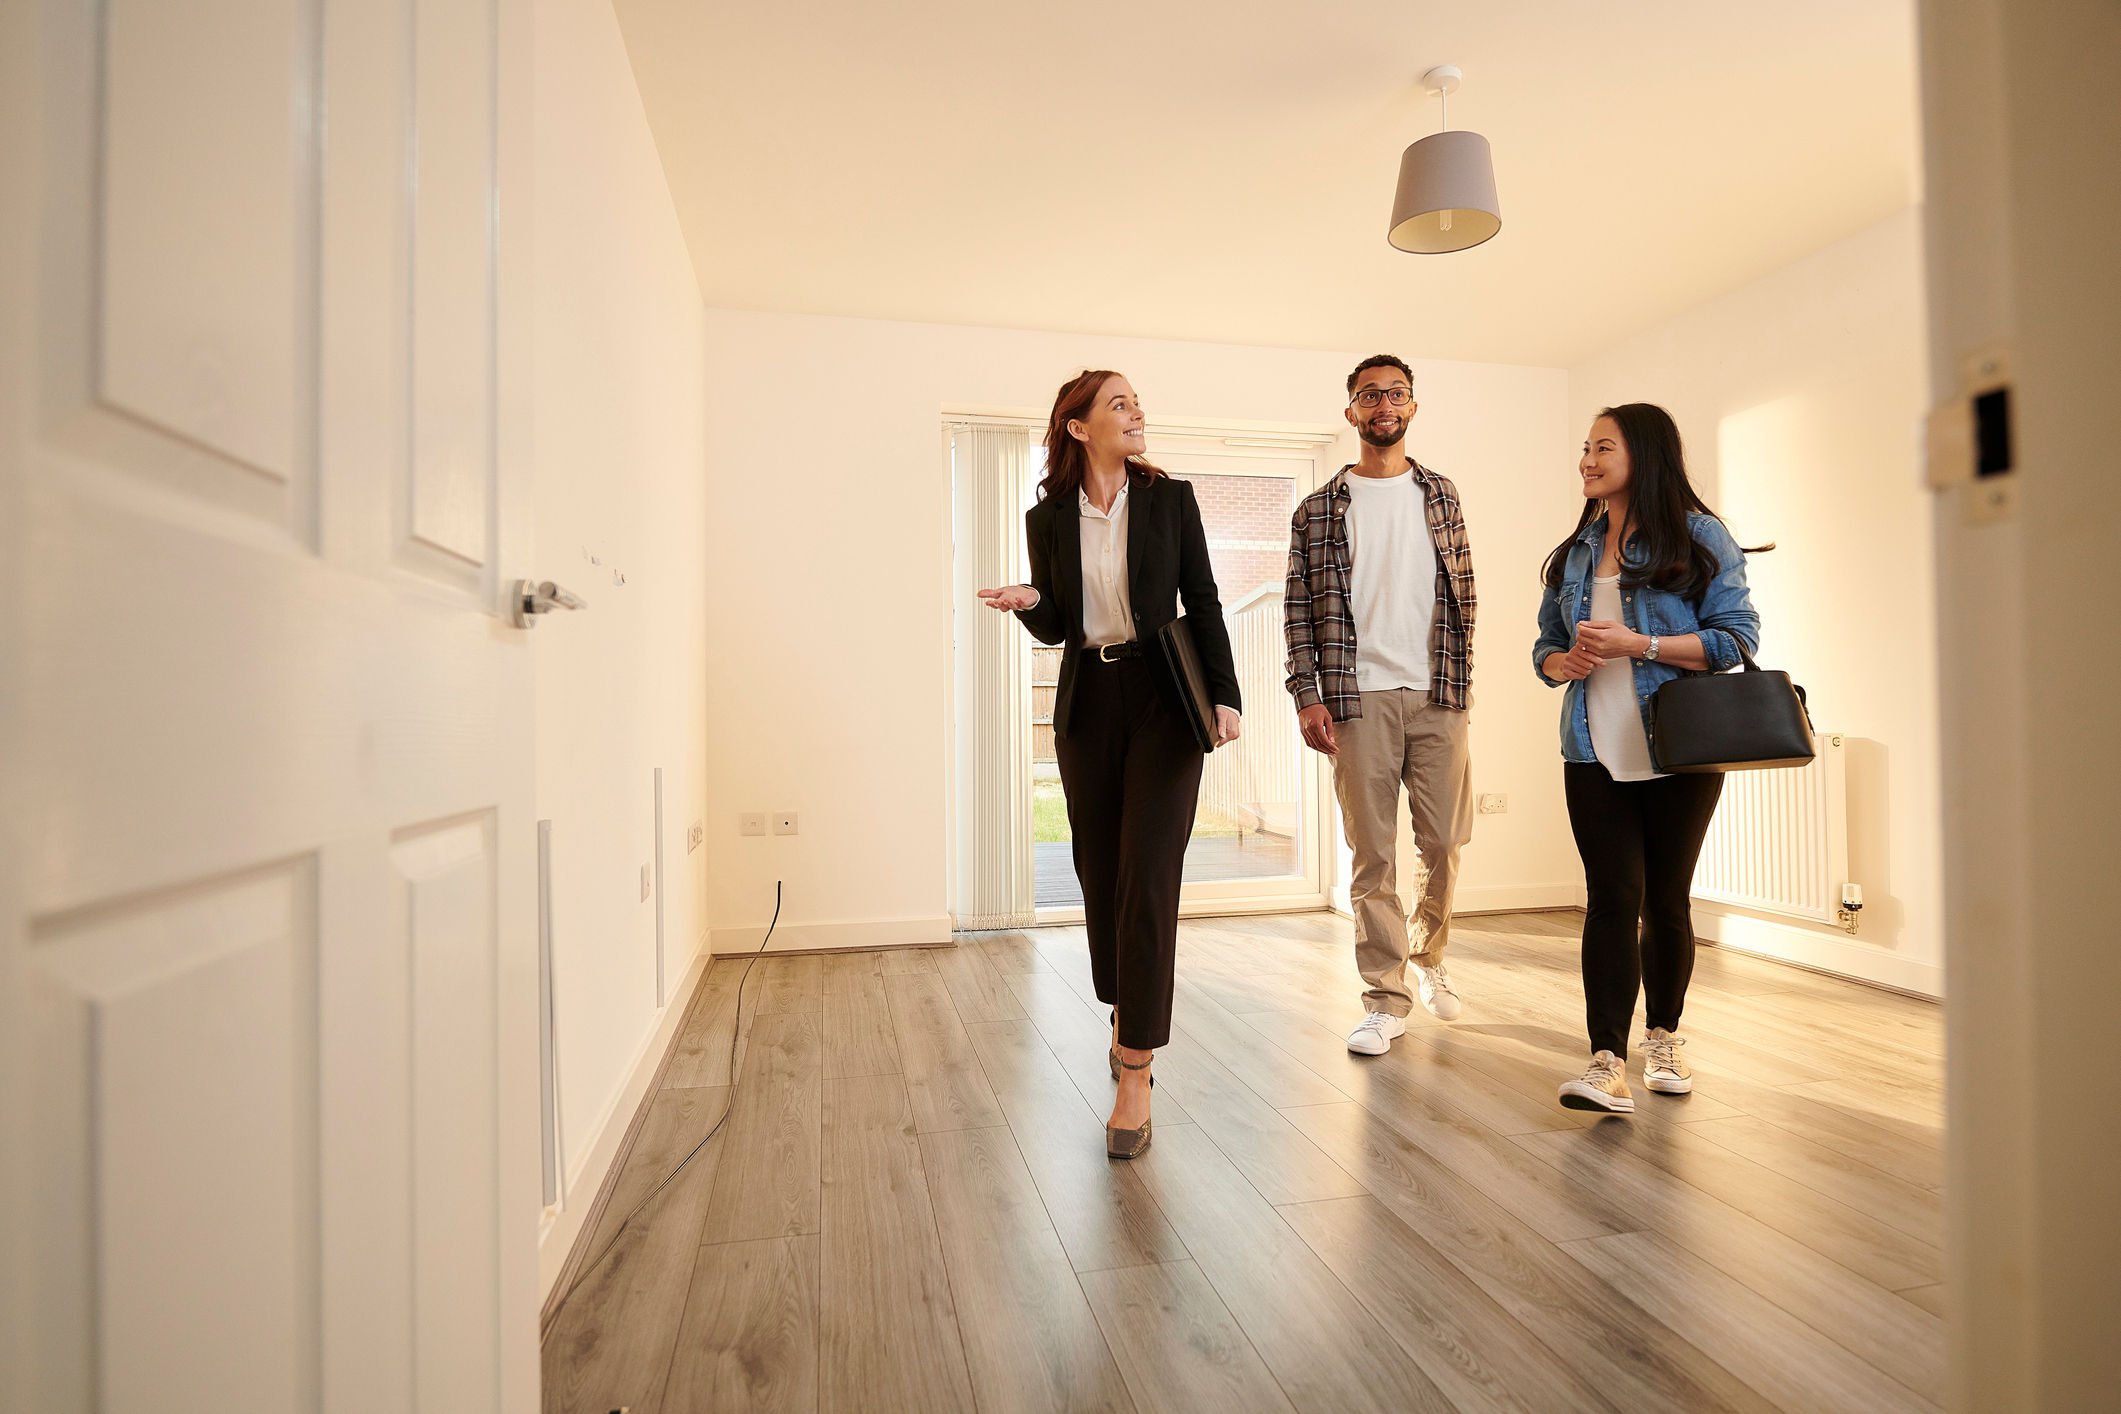
Final Walkthrough Checklist Before Closing a Home

Published by
Your final walkthrough is your last chance to confirm the home is in the condition agreed upon before the keys change hands and you take possession. While most transactions go smoothly, studies show that about 1 in 20 final walk-throughs (5%) uncover issues severe enough to delay or derail the closing process.
The types of problems discovered at this stage can vary widely, from minor issues like dirty carpets or a broken fixture (typically $200–$500 to fix), to major system failures that can cost $3,000 or more in unexpected repairs.
Since your home is likely your largest financial investment, a meticulous final walkthrough helps protect both your wallet and peace of mind. In fact, a well-documented walkthrough process resolves approximately 90% of post-closing disputes in buyers’ favor.
In this article, we’ll walk you through the final walkthrough checklist before closing. Let’s ensure you’re handed clean, complete, and contract-compliant keys without surprises.
12 Essential Steps for Your Final Walkthrough Checklist
A successful final walkthrough comes down to two things: structure and attention to detail. Without a clear plan, it’s easy to overlook small problems or forget to check items that could cost you later.
This checklist is designed to keep you focused and systematic so that you don’t get overwhelmed by the process. Each step includes the when, what, and why, so you can move through the home confidently, document what you see, and address any concerns before closing day.
1. Schedule Timing Strategically
The timing of your final walkthrough before closing is more important than most buyers realize. Schedule it at least two to three days before closing, not on the morning of closing. You want to make sure there’s time for the seller to fix problems before paperwork is signed, and potentially keep your closing schedule on track. If you do the walkthrough that day, you’ll either have to accept the property as-is with a written agreement that the improvements will be made, or delay closing, which could cause issues with your financing.
Your real estate agent should take on the responsibility of coordinating the final walkthrough with all parties so that buyers, agents, and (if needed) contractors can attend. Plan for 60–90 minutes to move methodically through every part of the property, inside and out. Rushing this process increases the risk of missing issues that could cost you after closing.
If possible, choose a time of day with good natural light so you can see clearly, especially in attics, basements, or outdoor areas. If weather interferes with exterior inspections, adjust accordingly. Additionally, your agent should confirm with the seller’s real estate agent that all utilities will be turned on during your walkthrough so you can thoroughly test systems and appliances. This is particularly important if the property has been sitting vacant.
2. Verify All Agreed-Upon Repairs Were Completed
If there were agreed-upon repairs in your purchase agreement, the final walkthrough is your last chance to confirm they’ve been completed and done correctly. Don’t just take the seller’s word for it. Bring a copy of the original inspection report, repair addendum, and any receipts or warranties the seller provided to your final walkthrough.
While you’re at the property, test each repaired item yourself. Turn on the appliance that was replaced, flush the toilet that was fixed, and run water through the faucet that was repaired. If something doesn’t work as promised, it’s much easier to negotiate a solution before closing than after you’ve taken ownership.
Your agent should have already reviewed the documentation for each repair, ensuring any contractor work was done by licensed professionals when required, that warranties have been transferred to you, and that permits were obtained for major repairs. If anything feels incomplete or questionable, note it immediately and discuss your options with your agent before proceeding to closing.
Unfinished or subpar repairs are one of the most common causes of closing delays, accounting for roughly a quarter of all last-minute holdups. A careful inspection now helps ensure you won’t be stuck with someone else’s to-do list after move-in day.
3. Test All Major Systems and Appliances
The final walkthrough isn’t just about looking at the obvious; it’s also your opportunity to make sure everything that should be working is working. You need to physically test all systems and appliances, not just look at them.
Here’s what homebuyers need to check:
- Run both heat and air conditioning in all zones, even if it’s out of season, to ensure proper function in all zones.
- Turn on every faucet and shower to check for hot water, water pressure, and adequate drainage.
- Test every light switch and use a small device or outlet tester to check every outlet.
- Turn on the oven and leave it on for 20 minutes to make sure the oven heats.
- Make sure the dishwasher, stove, and microwave function properly. Listen for unusual noises.
- Run the washer and dryer through a short cycle to verify functionality.
- Check the garbage disposal, range hood fan, and any other built-in features.
- Test smoke detectors, carbon monoxide detectors, and the home’s security system if included.
These checks may seem tedious, but catching a malfunction now could save you $1,200–$3,500 in post-closing repair or replacement costs. If you discover a problem, document it immediately and work with your agent to address it before signing the final papers.
4. Inspect the Interior Condition Room by Room
Take a systematic approach to your final walkthrough by moving through the home room by room so nothing is overlooked. You’re looking to confirm that the property’s condition matches the terms of the contract and that nothing has changed since your last visit.
During your walkthrough, check the following in every room:
- Look for new cracks, stains, or damage on walls, ceilings, and floors that were not there before.
- Open and close windows and doors to look for smooth operation; check locks, latches, and weather sealing.
- Confirm light fixtures, ceiling fans, and any included hardware are in place and working.
- Open all doors, drawers, and shelves to ensure they’re intact and free of damage.
- Check under sinks and inside cabinets for water or fresh warping.
- The home should meet the cleanliness standards stated in your purchase agreement; note if additional cleaning is needed.
One thing to remember is that you are not looking for just any problem. Walkthrough issues are problems that were either previously identified and supposedly fixed or things that were supposed to be working that no longer are. For example, if the oven was promised to be working but now won’t heat up, this would be an area of concern. However, if a window pane was previously cracked and it was not negotiated that it would be fixed, then this isn’t something to bring up during your final walkthrough.
Taking the time to perform this step carefully helps you catch hidden damage or contract violations that, if found after closing, could cost $2,000–$8,000 to repair.
5. Examine Exterior and Structural Elements
The exterior and structural elements of a home can hide expensive problems, so don’t rush this part of your final walkthrough. Do a full lap around the property, taking time to note anything that looks different from your last visit.
During your walkthrough, check the following:
- Roof, gutters, and downspouts: Look from the ground for missing shingles, sagging gutters, or blockages.
- Exterior walls: Check for new cracks, chips, or signs of water intrusion.
- Driveway and walkways: Look for new large cracks or potholes. Test garage doors.
- Landscaping: Ensure lawn, shrubs, and trees are maintained; note any damage or neglect.
- Outdoor lighting: Test all lights to confirm they work.
- Sprinkler systems and pool equipment (if applicable): Run them to ensure proper operation.
- Fences and gates: Check for stability, secure latches, and no missing sections.
- Storm damage: Look for evidence of recent weather-related damage since the contract was signed.
Just like with the interior, your focus here should be on changes since your final contract was signed or repairs that were supposed to be made. If the fence was promised to be fixed but is still leaning, that’s worth noting. But if the cracked patio tile was there from the start and never part of your agreement, it doesn’t belong on your walkthrough punch list.
Catching exterior problems before closing can save you from repairs that often run between $1,500 and $4,000 after move-in.
6. Document Everything with Photos and Video
Your walkthrough observations will carry more weight if you have proof. Take plenty of photos and video, focusing on any concerns or changes since your last visit. Make sure each file is clear and, if possible, timestamped.
During your walkthrough, be sure to:
- Take wide shots of each room and outdoor area to show overall condition.
- Zoom in on specific issues, like damage, unfinished repairs, or missing items.
- Photograph utility meters, appliance serial numbers, and included personal property.
- Capture the condition of systems like HVAC units, water heaters, and breaker panels.
- Store all images and videos in a secure cloud folder so they can be easily shared with your agent.
The point of this step is to document evidence you can use in negotiations if something isn’t right. Clear, timestamped proof resolves about 85% of post-closing disputes in the buyer’s favor.
Even if you don’t have any items that need to be corrected before closing, documenting your final walk through can be great for your own record keeping. Taking photos and videos of an entire home should be one of the first things you do immediately after buying a house.
7. Verify Utilities and Services Are Operational
Your final walkthrough is the time to confirm that all essential utilities (electricity, gas, and water) are active and functioning as they should. Test every utility connection to make sure service is uninterrupted, and verify that the transfer of accounts into your name has been completed.
Check that trash and recycling services are set up, and if the property is part of an HOA, confirm that all included services like landscaping or security are active. It’s also smart to obtain utility account details and emergency contact numbers now, so you know exactly who to call if there’s a problem after you move in.
Overlooking this step can delay move-in by three to seven days while waiting for service to be restored, which is time you may not have when you’re ready to unpack. Taking a few extra minutes to test and confirm everything now ensures your first days in your new home start smoothly.
8. Confirm Included Items and Negotiate Exclusions
The final walkthrough is your last opportunity to verify that all items listed as “included” in your purchase agreement are still in the home and working order. Your real estate agent should bring a copy of your contract and the list of agreed-upon inclusions so that you can review them together.
Sometimes, there can be confusion around what items the seller is meant to leave behind and which they can take, particularly when it comes to unattached personal property.
Items you should look for may include:
- Appliances
- Light fixtures
- Window
- Built-in shelves
- Hot tub
- Other personal property
If you discover a missing item or that something has been swapped out, your agent can help you negotiate an appropriate resolution before closing. For smaller, lower-cost items, a credit at closing may be the simplest solution.
For larger or more expensive exclusions (such as a removed appliance) or items that are difficult to replace (like a unique chandelier), you may need to push for replacement or a price adjustment. Missing included items can cost $800 to $2,200 or more to replace, so confirming everything now can save you both money and frustration after move-in.
9. Check for Signs of Recent Problems That Were Covered Up
Even if a home looked flawless when you toured it, issues can develop between contract signing and closing. During your final walkthrough, look for evidence of water leaks, fresh paint that may be covering damage, or hastily completed repairs.
Pay close attention to areas under sinks, around water heaters, in basements or crawl spaces, and near windows for signs of moisture, staining, or unusual odors. Bring a flashlight to check darker spaces and corners where problems can hide.
It can be helpful to bring along a copy of your home inspection report and compare it to what you see. Be alert to anything that feels like it might be concealing a larger issue. If you find something suspicious during your final walkthrough, you’ll want to confirm whether it’s been fixed properly.
Hidden or recently developed problems can cost $3,000 to $7,500 to repair after closing, so noting and addressing them now with your agent ensures you aren’t inheriting a costly surprise.
10. Test Security and Safety Features
Take a few minutes during your final walkthrough to make sure the home’s locks, security, and safety features are all working properly. Try every lock and deadbolt to see if they turn smoothly, and test garage door openers or any automatic entry systems. If the home has a security system, power it on, run through the basic functions, and make sure you’ve been given the right codes.
Don’t forget about safety essentials. Press the test button on GFCI outlets in the kitchen, bathrooms, and outdoor areas to see if they trip and reset correctly. Check that handrails feel sturdy and that any included fire extinguishers are where they’re supposed to be and up to date. Spending a few minutes here can save you anywhere from $500 to $2,000 in post-closing fixes.
11. Review Final Settlement Statement and Closing Documents
Once your final walkthrough is done, you want to make sure that what you’ve seen lines up with what’s on paper. Sit down with your real estate agent and compare your walkthrough notes to the agreed-upon condition in your contract. If you spot anything that doesn’t match, like incomplete repairs, missing items, or new damage, flag it right away so it can be discussed before you sign.
This is also the time to review any repair credits or escrow arrangements that were negotiated earlier in the process. Make sure they’re written into your settlement statement, and ask questions if anything appears unusual. Your agent can help you gauge whether an issue is minor enough to address after closing or serious enough to pause and renegotiate. It’s important to take this extra step can prevent those last-minute surprises that throw closing day off track.
12. Plan Next Steps Based on Findings
Hopefully, after your final walkthrough, there’s nothing that the seller needs to address. But, sometimes buyers have a short list of notes of things they believe need to be fixed. Now, you need to figure out what needs to be handled before closing and what you can wait to address.
It’s helpful to group issues into three categories:
- Minor: Cosmetic or inexpensive fixes
- Moderate: Repairs that may need a credit or quick turnaround
- Major: Anything that could impact safety, function, or financing
For urgent or high-cost problems, talk with your agent immediately about the best course of action. It might be possible to negotiate a price adjustment, request a credit at closing, request that part of the seller’s proceeds get held back in escrow, or delay closing until repairs are complete. If everything checks out, you’re clear to move forward and start preparing for move-in day. Having a plan in place for whatever you find ensures you’re not scrambling at the closing table.
What Not to Do During Your Final Walkthrough
Knowing what to look for is important, but knowing what not to do can save you from wasting time, making costly mistakes, or overlooking serious problems.
Don’t Rush the Process
Your final walkthrough isn’t something to squeeze in between errands. If you rush, you’re more likely to miss issues that could cost you later. Avoid scheduling conflicts that cut your time short.
Arrive prepared and bring:
- A flashlight
- A phone charger
- Any tools you might need to check outlets
- A copy of your home inspection report
- A list of any repairs the seller was supposed to handle
Move room by room in a systematic way, and resist the pressure to approve everything quickly just to meet the closing deadline.
Don’t Ignore Red Flags
It’s easy to dismiss something as “minor” when you’re excited to close, but even small signs can point to bigger problems. Don’t ignore damage, missing items, or signs of recent repairs without asking questions. A freshly painted section of ceiling, for example, might be covering a leak—and you have the right to know before you sign.
Don’t Handle Major Issues Alone
If you find something significant, bring your agent into the conversation immediately. For bigger problems, they may recommend bringing in a contractor for an assessment or, in rare cases, a real estate attorney. Handling these issues on your own can leave you without the leverage or legal standing you might need to get them resolved before closing.
Timeline and Cost Considerations
A smooth final walkthrough is a result of when you schedule it and the potential costs of fixing any issues you find. Planning gives you the best shot at resolving problems without throwing off your closing date.
Optimal Walkthrough Timing
You can do a final walkthrough too early, but you can also do it too late. The sweet spot for scheduling is 48–72 hours before closing. With a few days between the final walkthrough and closing, you have enough time to spot issues and work out solutions, but not so much time that new problems could pop up before you get the keys. Make sure you plan to be at the property for at least 90 minutes for a thorough inspection, and make sure your agent, and any other key people, can be there.
Potential Issue Resolution Costs
Not every problem you find will break the bank. How you handle any issue you uncover will depend on the cost. Therefore, it’s good to have a sense of what repairs might cost:
- Minor issues: $200–$800
Often handled with a quick credit at closing - Moderate issues: $800–$3,000
May require an escrow arrangement or short closing delay - Major problems: $3,000+
These costs could mean renegotiation or, in rare cases, walking away from the deal
Professional Inspection Costs
If something serious comes up, you may need to bring in a specialist home inspector before closing. In these situations, expect to pay $300–$600 for a system-specific inspection, $500–$1,000 for an emergency call, and $200–$500 per hour for legal advice from an attorney in a contract dispute.
While these costs aren’t ideal right before closing, they’re small compared to what you might pay if you miss a big problem entirely.
How to Handle Problems Found During Final Walkthrough
Most of the time, if something is found during your final walkthrough that either should have been fixed or that wasn’t there before, there’s a solution. Not every issue you find is a dealbreaker. How you respond can make the difference between a smooth closing and a stressful scramble.
But remember, just because you find something “wrong” with the property doesn’t mean the seller needs to fix it or provide compensation. You’re only looking for:
- New damage to the property
- Items that were supposed to be working but are not
- Issues that should have been fixed per the contract and were not.
Resolving Minor Issues (Under $500)
Minor problems like loose cabinet handles, chipped paint, or a broken light fixture usually don’t need to delay closing. In most cases, you can request a seller credit at closing to cover the repair, or agree to a quick fix with a clear completion timeline. Examples include:
- Loose cabinet handles: $50–$150
- Minor paint touch-ups: $100–$300
- Replacing a broken light fixture: $75–$200
These are easy to resolve and rarely push back a closing date.
Managing Moderate Issues ($500–$3,000)
For moderate problems, like a minor plumbing repair or replacing an appliance, you’ll need more than a handshake agreement with the seller. Your agent can help set up an escrow arrangement where repair funds are held until the work is done, or negotiate for a repair to be completed before closing.
Here are some typical examples of moderate repairs:
- HVAC tune-up: $1,200–$2,500
- Plumbing repairs: $600–$1,200
- Appliance replacement: $800–$2,500
These issues usually take 3–7 days to resolve, so catching them early is key because you’re probably already looking at a delayed closing or post-closing repair agreement.
Dealing with Major Issues (Over $3,000)
These issues can directly impact a home’s safety, livability, and appraised value. Because of that, they often need to be addressed before closing. Common examples include:
- Replacing a furnace: $4,000–$7,500
- Repairing significant roof damage: $5,000–$12,000
- Upgrading an unsafe electrical panel: $3,000–$5,000
According to Britton Taylor, COO at Air Today Heating & Cooling, major inspection issues uncovered during a final walkthrough often affect more than just repair costs. “Problems like aging furnaces, roof damage, or outdated electrical panels can introduce delays, financing complications, and insurance concerns if they aren’t addressed before closing,” Taylor explains. “Buyers should focus not only on the upfront price of repairs, but also on timelines, permit requirements, and whether the work must be completed to meet safety or lender standards.”
Getting professional evaluations early helps buyers understand the true scope of these issues and negotiate with clarity before moving forward.
These repairs aren’t small, and they take time. When this happens, you may want to:
- Renegotiate the purchase price to cover the cost of repairs
- Require the seller to fix the issue before closing
- Delay closing until work is completed
- Walk away entirely if it’s a dealbreaker
One Last Look Before You Call It Home
The final walkthrough isn’t the glamorous part of buying a home. You’re not picking paint colors or imagining your first backyard BBQ. Instead, you’re playing detective, making sure the house you’re about to buy is exactly what you agreed to. Done right, this last step can save you from starting your first week of homeownership with buyer’s regret. It’s your chance to double-check the details, protect your investment, and walk into closing day confident.
And while you’re the one doing the looking, you don’t have to go it alone. A great real estate agent will guide you through each step, help you spot red flags, and know precisely how to handle anything that pops up. But you need an experienced agent who understands the purchase contract and how to handle any issues that arise.
FastExpert helps buyers connect with top local agents who have been through hundreds of walkthroughs and closings. You can compare agents, read reviews, and choose the right professional to have in your corner.
Buying a home is exciting. Your final walkthrough? Maybe not so much. But that’s why you work with a real estate agent you can trust.